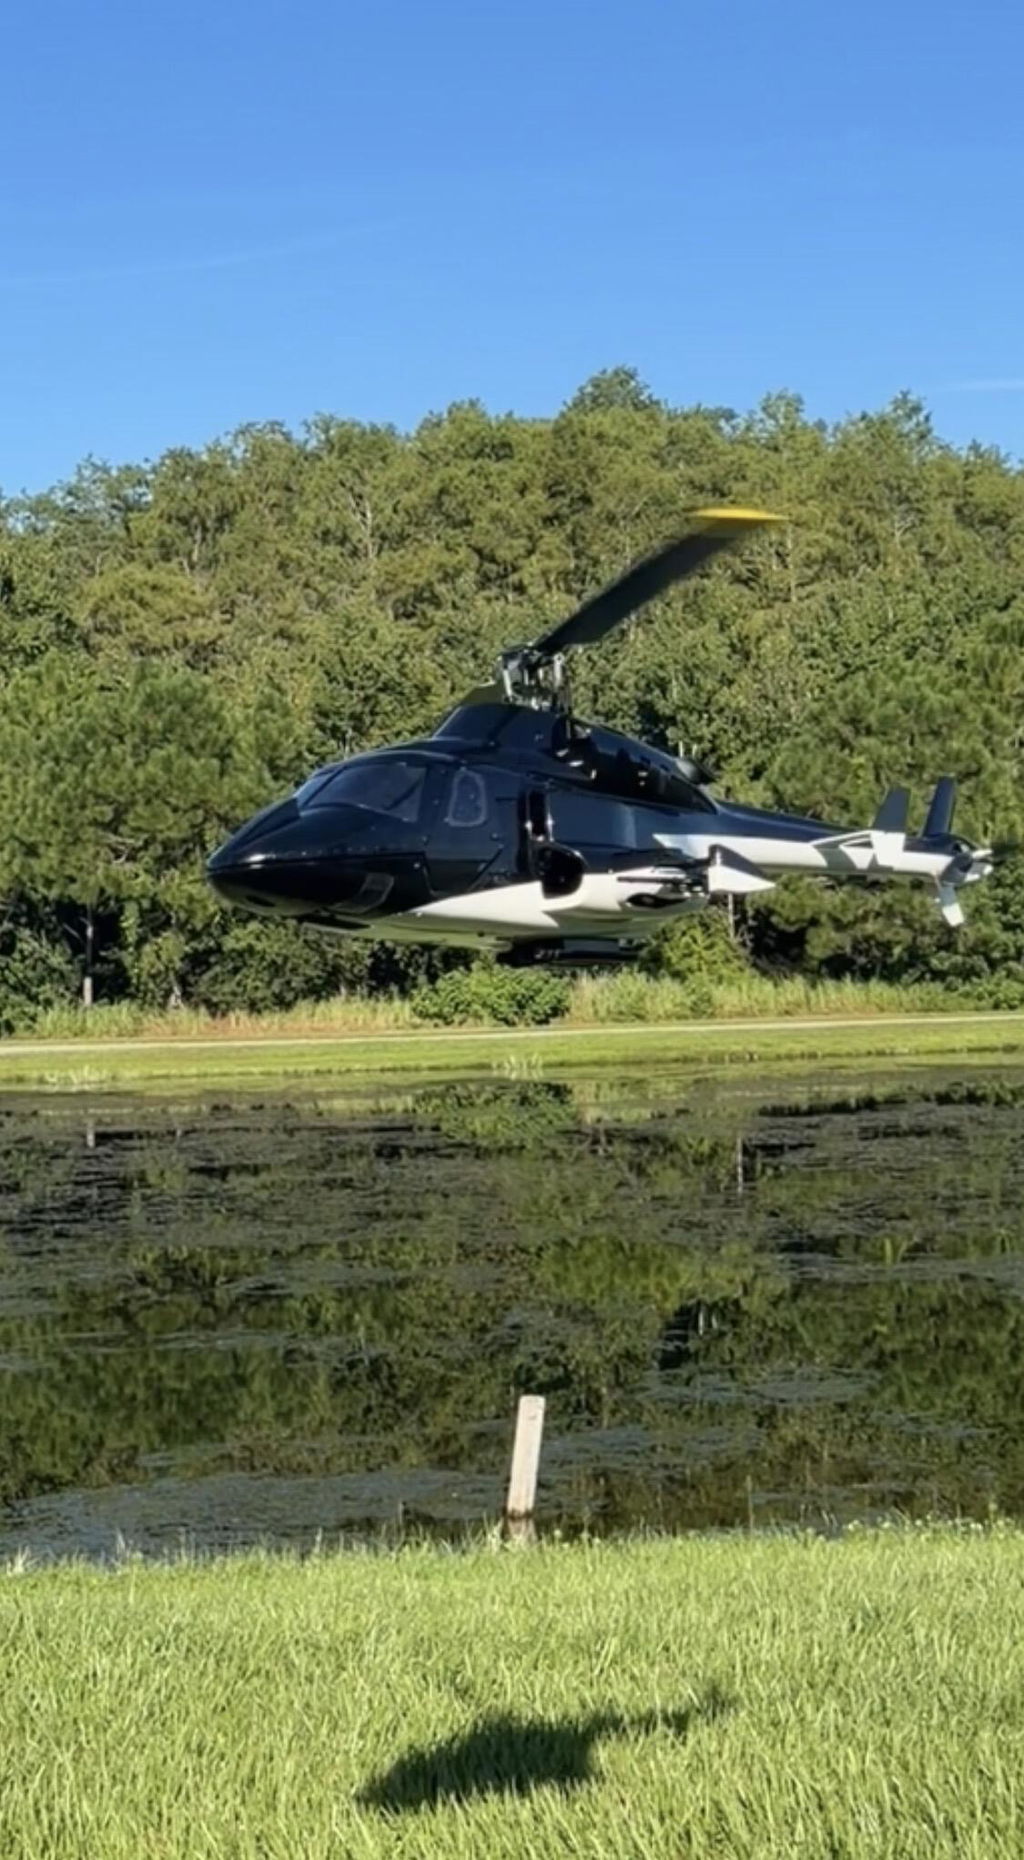

Imagine hovering above your local park and seeing the landscape from a bird’s-eye view. An RC helicopter with camera allows pilots to capture real-time aerial footage while maintaining full manual control. Some pilots buy models with built-in cameras. Others prefer adding their own camera to an existing helicopter.
This guide focuses on the second option and will walk you through the essential steps of transforming your standard RC helicopter into a dynamic RC heli with a camera rig.
What Is an RC Helicopter with a Camera?
RC helicopters with a camera are remote-controlled aircraft that have a built-in or added video camera. It sends live footage to your phone, goggles, or screen. This creates an immersive FPV experience.
There are two main types:
- Built-In Models: These come factory-equipped, often with small, lightweight cameras integrated directly into the fuselage or nose. The camera is pre-balanced by the manufacturer, making it easier for beginners to use. However, camera quality and upgrade options are usually limited.
- Custom/DIY Rigs: These setups involve adding a separate camera to an existing RC helicopter using mounts, straps, or vibration-damping materials. DIY rigs give pilots more control over camera choice, mounting position, and weight.

Can You Add a Camera to Any RC Helicopter?
No, not every model is a suitable candidate. Adding a camera introduces weight, changes the aircraft's center of gravity, and reduces its lift capability.
RC Helicopters That Can Handle a Camera
Successful camera integration depends on the helicopter’s inherent stability and power. Look for these crucial requirements:
- Size and Motor Power: You need at least a mid-sized, hobby-grade RC helicopter (typically 300-class or larger) that runs on brushless motors. These motors provide the necessary power and torque to lift the added payload weight without overheating.
- Frame Stability and Rigidity: A robust metal or high-quality carbon fiber frame is essential. Plastic frames will vibrate excessively, leading to shaky or blurry video.
When Adding a Camera Is Not Recommended
Avoid adding a camera if your model is:
- A micro or nano-sized toy remote control helicopter.
- A coaxial (double-bladed) helicopter with fixed-pitch flight lacks the power and precise control needed for maneuvering with extra weight.
- A model with an already aging or underpowered battery system.
Is It Better to Buy an RC Helicopter with Camera or Add Your Own?

The choice depends on your budget, technical skill, and final video quality goals. Here is a direct comparison to help you decide:
| Feature | Buying a Built-In Model | Adding Your Own Camera (DIY) |
| Setup Difficulty | Easy (ready-to-fly) | High (Requires technical DIY skills) |
| Cost | $50–$650 | $100–$250 extra for camera/mount |
| Camera Quality | Generally 720p or 1080p; limited frame rates. | You choose. Go from HD action cams to 4K. |
| Flight Performance | Optimized from the factory | May need tuning for balance |
| Ideal User Type | Beginners, casual flyers, ease-of-use focus. | Experienced hobbyists, aerial video professionals, DIY enthusiasts. |
In short, built-in camera helicopters prioritize convenience, while DIY setups prioritize flexibility and image quality.
What You Need Before Adding a Camera to an RC Helicopter
Before mounting a camera, consider weight, power, and balance. Skipping this step causes most failures.
Camera Weight and Payload Limits
This is the single most critical factor. Every RC helicopter has a Maximum Takeoff Weight (MTOW). You must calculate the weight of your camera and mounting hardware. Many RC helicopters safely handle no more than 5–10% of their all-up flying weight as added payload, including the camera, mount, and wiring.
Example: a 600 g helicopter should not carry more than 30–60 g of camera weight.
Power Options: Built-In Battery vs External Power
Your camera needs electricity. You have two main choices:
1. Independent Power: Use the camera’s built-in battery or a separate, lightweight LiPo battery.
- Pros: Isolates the camera's electrical noise from the flight controller; ensures stable camera operation.
- Cons: Add more total weight.
2. Shared Power: Tap into the helicopter's main flight battery via a voltage regulator.
- Pros: Saves weight.
- Cons: It can introduce electrical noise into the control system and noticeably reduce flight time, especially on smaller helicopters.
Some RC helicopters are built with camera use in mind.
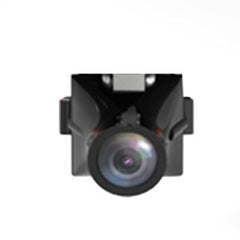
For example, certain YU XIANG RC helicopter models include a battery power port and an underside mounting point intended for accessories like lights or cameras. Using a Camera for YU XIANG with this built-in setup keeps wiring simple and helps maintain better balance, reducing vibration compared to fully DIY mounts.
This camera is designed to work across multiple YU XIANG helicopters, including F09-S, F09-H, F11, F11-S, F07S, and F119S, making it a practical option for pilots flying different models within the same brand.
Mounting Position and Balance
Mounting the camera too far forward or backward will make the helicopter unstable and nearly impossible to control. The best spot is usually the Center of Gravity (CG), close to the main rotor shaft. This minimizes changes to the center of gravity.

Step-by-Step: How to Add a Camera to an RC Helicopter
Follow these steps for a successful and safe installation.
Step 1: Choose the Right Mounting Method
Select a method based on your camera’s weight:
- For light cameras (<30g): High-strength double-sided foam tape or a Velcro strap works well.
- For heavier cameras: A custom 3D-printed mount or a universal camera bracket secured with nylon zip ties is necessary for a secure hold.
Tips: Avoid metal mounts unless the weight is minimal.
Step 2: Secure the Camera and Reduce Vibration
Use Vibration Damping: Place gel padding or small vibration isolation balls between the camera and the mount. This is the single most important step for getting smooth, blur-free footage from your RC helicopter camera.
Secure All Wires: Loose wires can get caught in gears. Use zip ties or adhesive clips.
Step 3: Perform Ground Tests and Short Hover Flights
Before flying high, conduct low-altitude tests.
- Ground Test: Spin up the rotors (without lifting off) to check for any visible frame wobble or severe motor noise caused by the new weight.
- Short Hover: Do a 30-second low hover in a calm environment. Listen to unusual motor strain and observe stability.
- Check Camera Angle: Ensure the camera is pointing where you want it. Adjust the mount if needed.
What Can Go Wrong?
Why does the video look shaky or blurry?
The primary cause is vibration transmission (the jello effect), which is almost always caused by high-frequency vibration from the motors and rotors.
Fix: Check blade balance, tighten the main shaft, and add damping material or reposition the mount closer to the frame.
Why is flight time much shorter?
Added weight requires the motors to draw significantly more current (Amps) to maintain lift. This sharply reduces battery endurance. Expect 10–25% shorter flights depending on payload.
Can adding a camera damage the helicopter?
Improper installation or overloading can. If the motor is consistently overloaded (exceeding payload limits), it can lead to motor burnout or damage to the Electronic Speed Controller (ESC) due to overheating.
Does adding a camera void the warranty?
In nearly all cases, yes. Any non-manufacturer modification to the airframe, electronics, or power system will typically void the factory warranty. Proceed only if you accept this risk.
Safety Tips for Flying an RC Helicopter with a Camera
Flying a modified aircraft carries inherent risks. Use these best practices:
- Fly in Open Areas: Maintain a clear, open flying zone, well away from people, buildings, and vehicles.
- Avoid Strong Wind: Never fly your added-weight setup in winds above 5-7 mph. The reduced power margin means you may not have enough authority to fight a strong gust.
- Keep Distance from People: Keep a safe distance from people and public spaces at all times.
- Inspect Mounts Before Each Flight: Always check the security of all fasteners, straps, and damping balls. A loose camera can become a falling projectile.
Is Adding a Camera to an RC Helicopter Right for You?
This DIY path is best suited for experienced pilots who:
- Own a sturdy, hobby-grade helicopter.
- Are comfortable with mechanical adjustments and basic tuning.
- Prioritize customizable 4K/high-resolution video over ease of use.
If your primary goal is simply to get basic aerial video footage without the hassle, consider the numerous ready-to-fly FPV drones on the market today. They are optimized for carrying cameras and often provide much better stability and flight time at a similar cost.
Conclusion
Converting your RC helicopter into an effective aerial camera platform is a rewarding project that demands precision, mechanical understanding, and careful setup.
For hobbyists who enjoy hands-on tuning and manual flight control, an RC helicopter with camera offers a unique experience. However, if your main goal is smooth aerial footage with minimal setup and risk, a purpose-built camera drone is often the more practical choice.